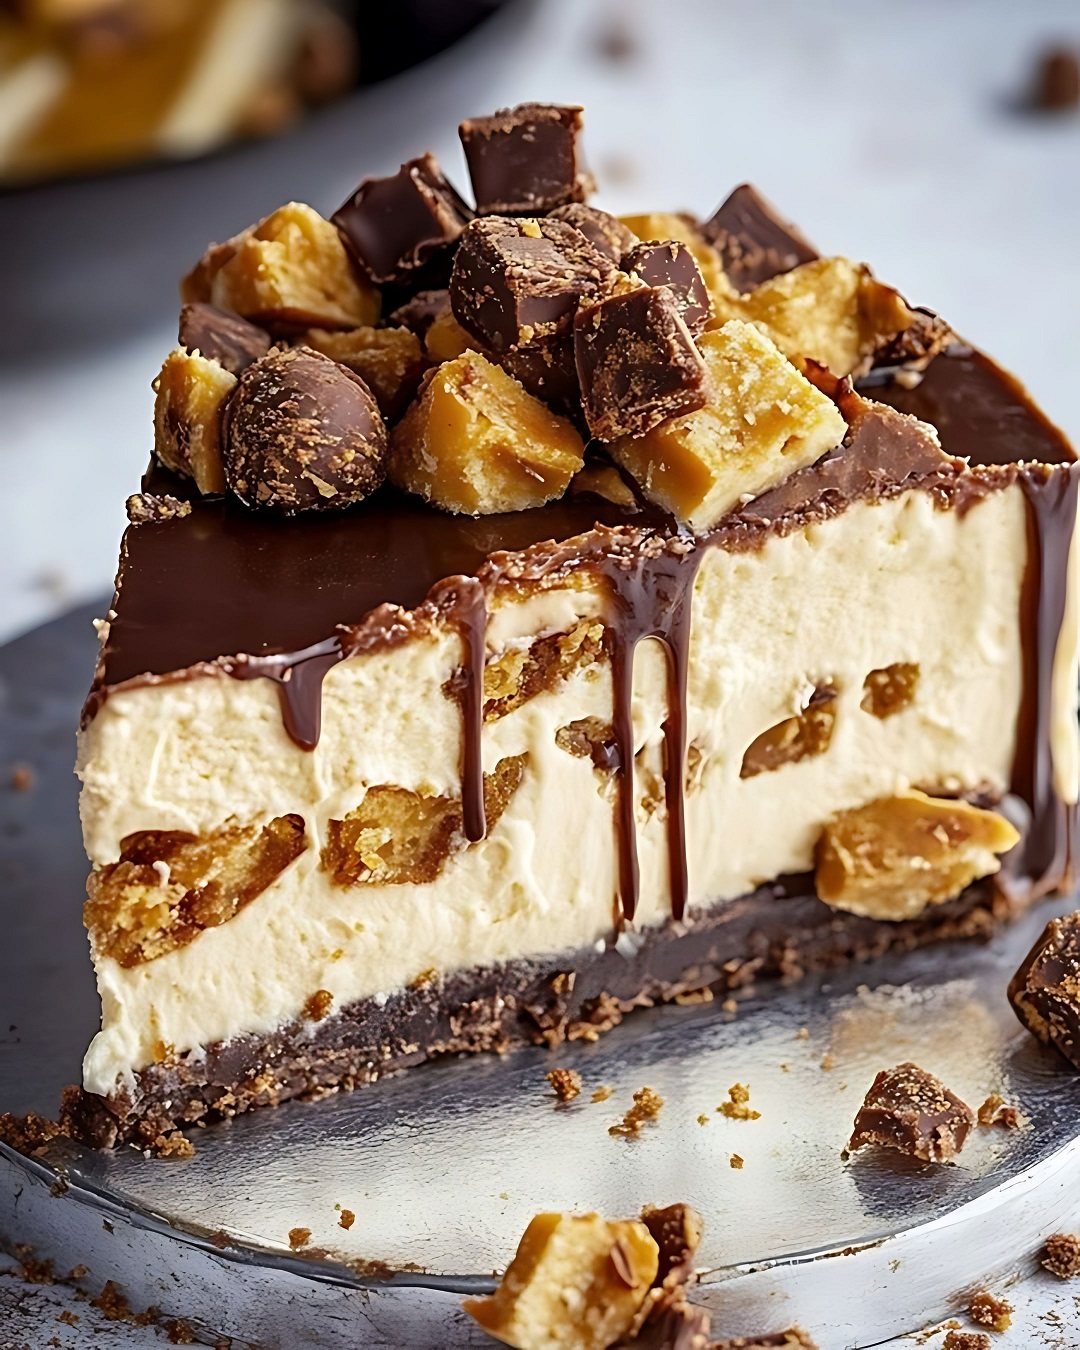
Gluten-Free Crunchie Cheesecake Recipe (No-Bake)
This no-bake, gluten-free Crunchie cheesecake is indulgently creamy, with a delightful crunch from chocolate honeycomb pieces. It’s perfect for any occasion and super easy to make.
Servings: 8-12
Prep Time: 20 minutes
Total Time: 20 minutes
Ingredients
For the Base:
320g gluten-free digestive biscuits
150g butter, melted
1 Crunchie bar (optional, for extra crunch)
For the Filling:
600g mascarpone or cream cheese (full fat)
100g icing sugar
300ml double cream
1 tsp vanilla extract (optional)
150-200g Crunchie bars, chopped
For the Topping:
150g Crunchie chocolate spread
Extra Crunchies, chopped (for decoration)
Instructions
Step 1: Make the Base

Crush the Biscuits: Place your gluten-free digestive biscuits and 1 Crunchie bar (optional) into a sandwich bag and crush them with a rolling pin, or use a food processor to blitz them. Avoid over-blitzing into a fine dust.
Melt the Butter: Melt the butter in the microwave on medium power (600W) for 30 seconds to 1 minute. If it melts before the time is up, stop—it”s ready.
Mix and Press: Combine the melted butter with the crushed biscuits in a bowl, mixing thoroughly. Press the mixture firmly into the base of a 20cm loose-bottom baking tin. Place it in the fridge to chill for at least 30 minutes while you prepare the filling.
Step 2: Prepare the Cheesecake Filling
Mix Cream Cheese: In a large bowl, mix together the mascarpone (or cream cheese), icing sugar, and vanilla extract using an electric hand mixer on low/medium speed for about 10-20 seconds.
Add Double Cream: Pour in the double cream and continue mixing on medium speed until the mixture thickens slightly (about 2 minutes). Be careful not to overmix; the consistency should be thick and spoonable, not pourable.
Fold in Crunchie Pieces: Gently fold in the chopped Crunchie pieces so they are evenly distributed throughout the mixture.
Step 3: Assemble and Chill
Spread Filling: Spread the cheesecake mixture evenly over the chilled biscuit base. Smooth the top with a spatula.
Chill: Place the cheesecake in the fridge to chill overnight, allowing it to set properly.
Step 4: Add the Topping
Prepare Crunchie Spread: Soften the Crunchie spread by mixing it in a bowl to loosen it up. This makes it easier to spread over the cheesecake.
Spread: While the cheesecake is still in the tin, spread the softened Crunchie spread over the top. Return it to the fridge briefly to set.
Decorate: Once set, remove the cheesecake from the tin and decorate with extra chopped Crunchie bars on top, in a random pattern.
Step 5: Serve
Slice and enjoy your delicious gluten-free Crunchie cheesecake! Keep any leftovers refrigerated.


